How to ReWick a coil on a RDTA or RTA Tanks 2025
What You’ll Need for the Setup:
- Your Tank
- Cotton
- Scissors
- A Small Screwdriver
- Juice of Your Choice
- Ceramic Tweezers
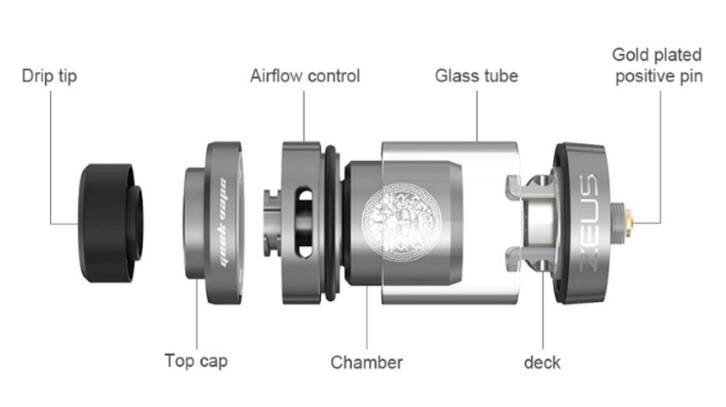
Key Components of the Tank:
- Deck: The section with the coils and where the cotton is placed.
- Glass Piece: The transparent part holding the juice.
- Chamber/Chimney: Helps with vapor flow and connects components.
- Top Cap: Secures the tank and allows access for refilling.
- Drip Tip: The mouthpiece for inhaling vapor.
- Airflow Control: Adjusts the amount of air entering the tank.
- Gold-Plated Positive Pin: Ensures a reliable connection between the tank and the device.
Steps for Preparing Your Tank:
- Disassemble and Clean
Begin by taking the tank apart and removing the old cotton. Rinse all the pieces under cold water and dry them thoroughly. Next, screw the deck onto your mod and heat up the coils to burn off any excess sucralose. Afterward, rinse the deck and coils with lukewarm water. Ensure the coils heat evenly, glowing from the inside out. - Preparing the Cotton
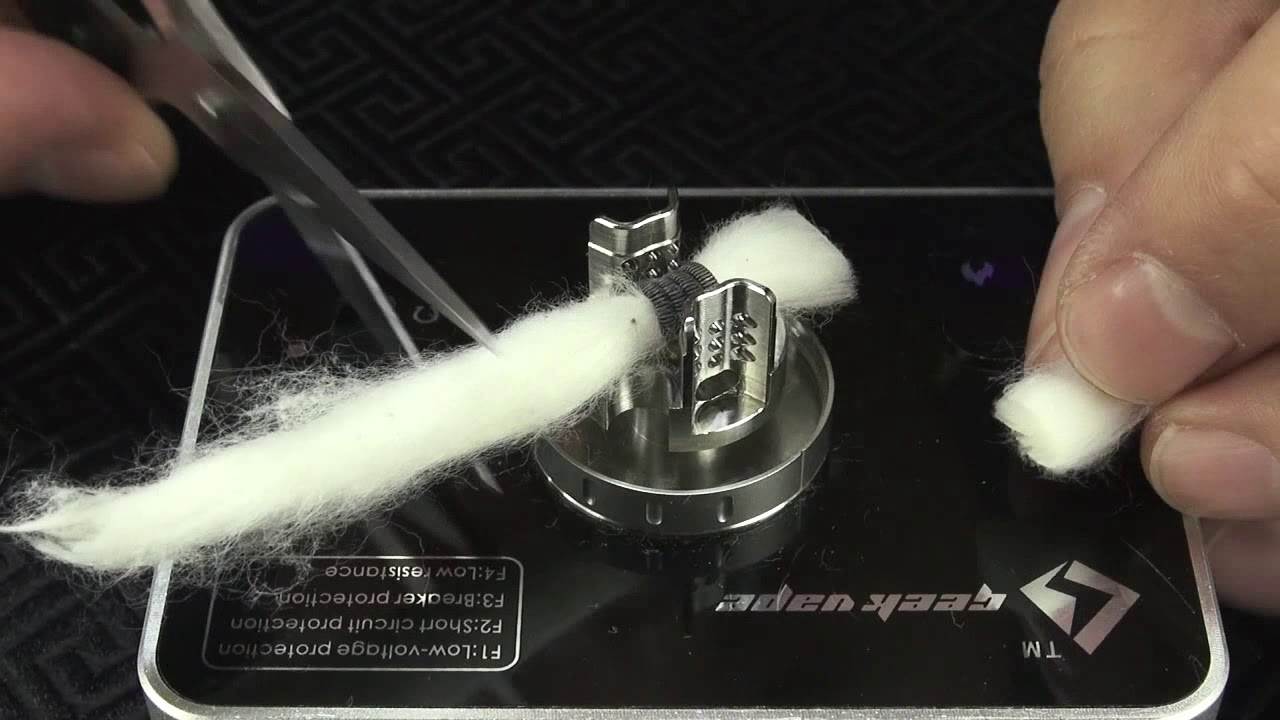
Cut the cotton into lengths that will fit through the coils, leaving enough on each side to tuck in properly. - Inserting the Cotton
Roll one end of each piece of cotton into a fine point. Carefully thread the pointed ends through the coils and pull them until the cotton is evenly distributed on both sides. The cotton should provide slight resistance while pulling—not too tight nor too loose. If it feels overly resistant, remove it, peel off a thin layer, and try again until you achieve the perfect fit.
Final Steps for Preparing Your Tank:
- Trimming the Cotton
Trim each side of the cotton so that it aligns with the edges of the tank. - Fluffing the Cotton
Gently fluff the cotton on both sides. This step improves its ability to absorb your e-juice efficiently. - Positioning the Cotton
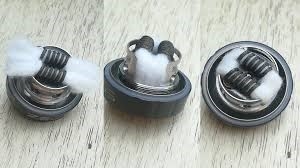
Using ceramic tweezers, lightly tuck the cotton into place while ensuring the cotton within each coil is evenly separated. This promotes optimal airflow and juice absorption for smooth vaping.
Final Tips and Assembly:
- Side Note: Perfecting the right amount of cotton takes practice.
- Too Much Cotton: This may result in dry hits due to restricted juice flow.
- Too Little Cotton: This can lead to leaking or gurgling issues.
- Prime the Coil and Cotton
Grab your favorite e-juice and thoroughly wet (prime) both the coil and the cotton. Firing the coil while priming helps reduce any residual cotton taste after rewicking. - Assemble and Refill
Reassemble your tank and fill it with your e-juice of choice. - Enjoy the Experience
With everything ready to go, you’re all set to enjoy a smooth, flavorful vaping session with your freshly wicked coil.


